Creating a professional-looking brochure doesn’t need fancy software. Microsoft Word can do the trick! Want to print it double-sided and make it look awesome? You’re in the right place!
Let’s make this fun and easy. We’ll break down the steps so you can focus on your design and not stress about the tech stuff.
Step 1: Plan Your Brochure Layout
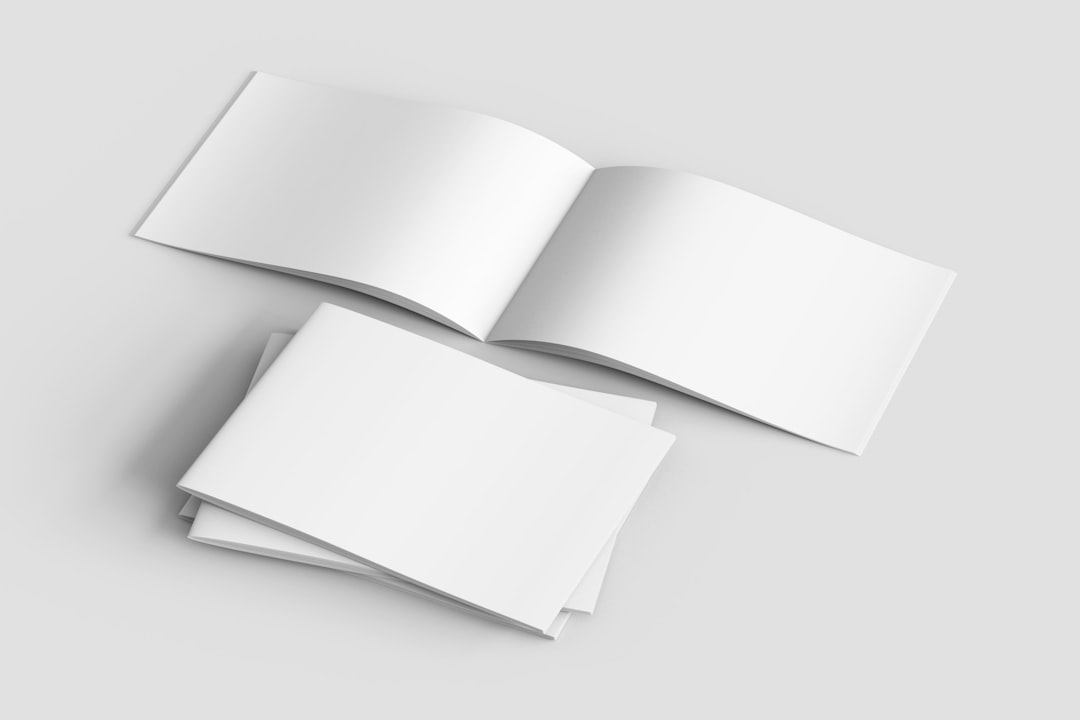
First things first — decide on the style of your brochure. The most common type is a tri-fold layout. That means folding one piece of paper into three panels.
Here’s what the folds usually look like:
- Front cover
- Inside flap
- Back cover
- Inside left panel
- Inside middle panel
- Inside right panel
Yes, it can sound confusing at first, but hang tight — it all comes together when you print.
Step 2: Open Word and Set Up the Page
Now, open Word and create a new blank document. Let’s turn that basic sheet into a brochure canvas!
- Go to the Layout tab.
- Click on Margins and select Narrow.
- Then click on Orientation and choose Landscape.
- Next, go to Columns and select Three.
There you go — three neat columns, perfect for a tri-fold brochure!
Step 3: Add Content Like a Pro
Now it’s time to add your amazing content. Use each column as a panel on your brochure.
Here’s a tip: The order of the panels on one side of the paper might not be what you expect. A helpful guide is:
- Page 1 (Outside): Back — Front — Inside Flap
- Page 2 (Inside): Left Panel — Middle Panel — Right Panel
Yup, that means the front cover is actually in the middle on the first page. It’s like magic once you fold it!
Step 4: Make it Look Fabulous
Use colors, fonts, and pictures that match your theme. Keep it simple and eye-catching.
Want to add spice?
- Add pictures — use Insert > Pictures
- Text boxes keep things in place — go to Insert > Text Box
- Shapes and icons can jazz it up — use Insert > Icons or Shapes
Just don’t overdo it — white space is your friend!
Step 5: Print Settings – The Trickiest Part
Alright — your brochure looks amazing, and you’re ready to print. Here’s the secret sauce:
- Click File then Print.
- Choose your printer.
- Now the fun part: look for an option that says something like Print on Both Sides.
- If it gives you a Flip on Long Edge vs. Short Edge choice, choose Flip on Short Edge.
Why short edge? Because you’re flipping a landscape page like a flyer, not a book. That keeps both sides in the right direction.
No double-sided printer? No worries!
Choose Manually Print on Both Sides. Word will print one side, then tell you to flip and reinsert the pages. Just follow the prompts.
Step 6: Fold and Admire
Now that your pages are all printed, give them a tri-fold. If all went well, your panels will line up perfectly like a store-bought brochure.
Still confused about how to fold?
- Fold the right panel inward first.
- Then fold the left panel over it.
Voilà! You’ve got yourself a brochure!
Bonus Tips
- Use thick paper for a sturdy, professional feel.
- Print one test copy before printing a big batch.
- Save your work as a PDF so it prints the same every time.
Wrap-Up
See? Making and printing a double-sided brochure in Word isn’t so scary after all. Just follow these steps, check your folds, and you’ll be creating brochure magic in no time.
Now go impress your coworkers, clients, or your cat. Happy printing!